
Mandatory Valentines day cards kind of drive me crazy. But then on the other hand it is a sweet way for your kids to show they care about their classmates. This year, my 3 year old and I took on a zero-waste challenge together and made Valentines “card” hearts from the red and white wrapping and tissue paper left from Christmas.
It worked great and was a fun mommy-daughter adventure! It also was a way to use up wrapping and tissue paper other people gave us when wrapping our gifts. We don’t use paper wrapping paper if possible because of the waste, to read the post on that, click here.
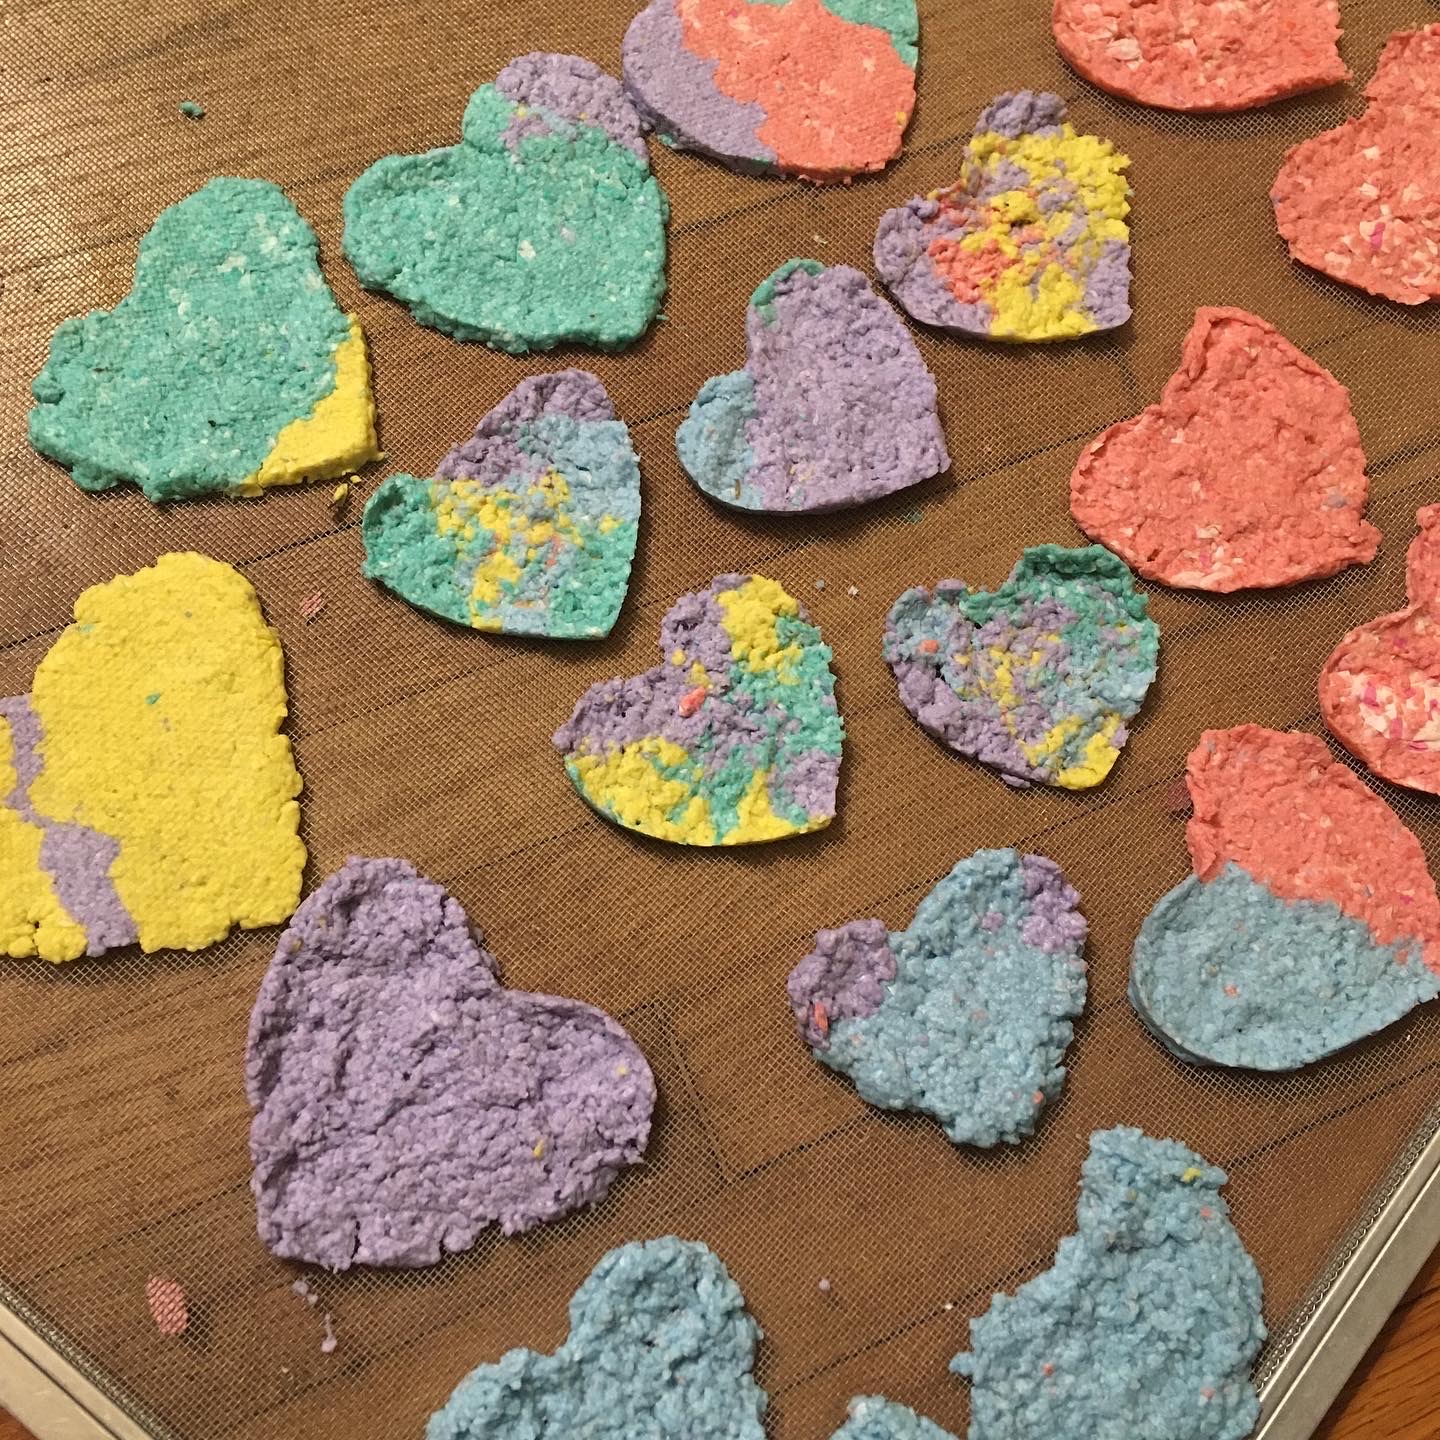
They turned out great!
Here is how to make your own:
1. Start with a good mix of about 75% white and 25% red. There was also some Frozen themed paper not pictured that had a red background and worked great. You can make colors besides pink, the main color if the tissue/wrapping paper will be the color of your hearts.

2. Rip up into smaller pieces and cover with water. Allow to soak for a few minutes to several hours. The water will turn to color of the paper too. Bonus: Use rain water you collected in a bucket or water from the shower while you were waiting for the water to turn warm!

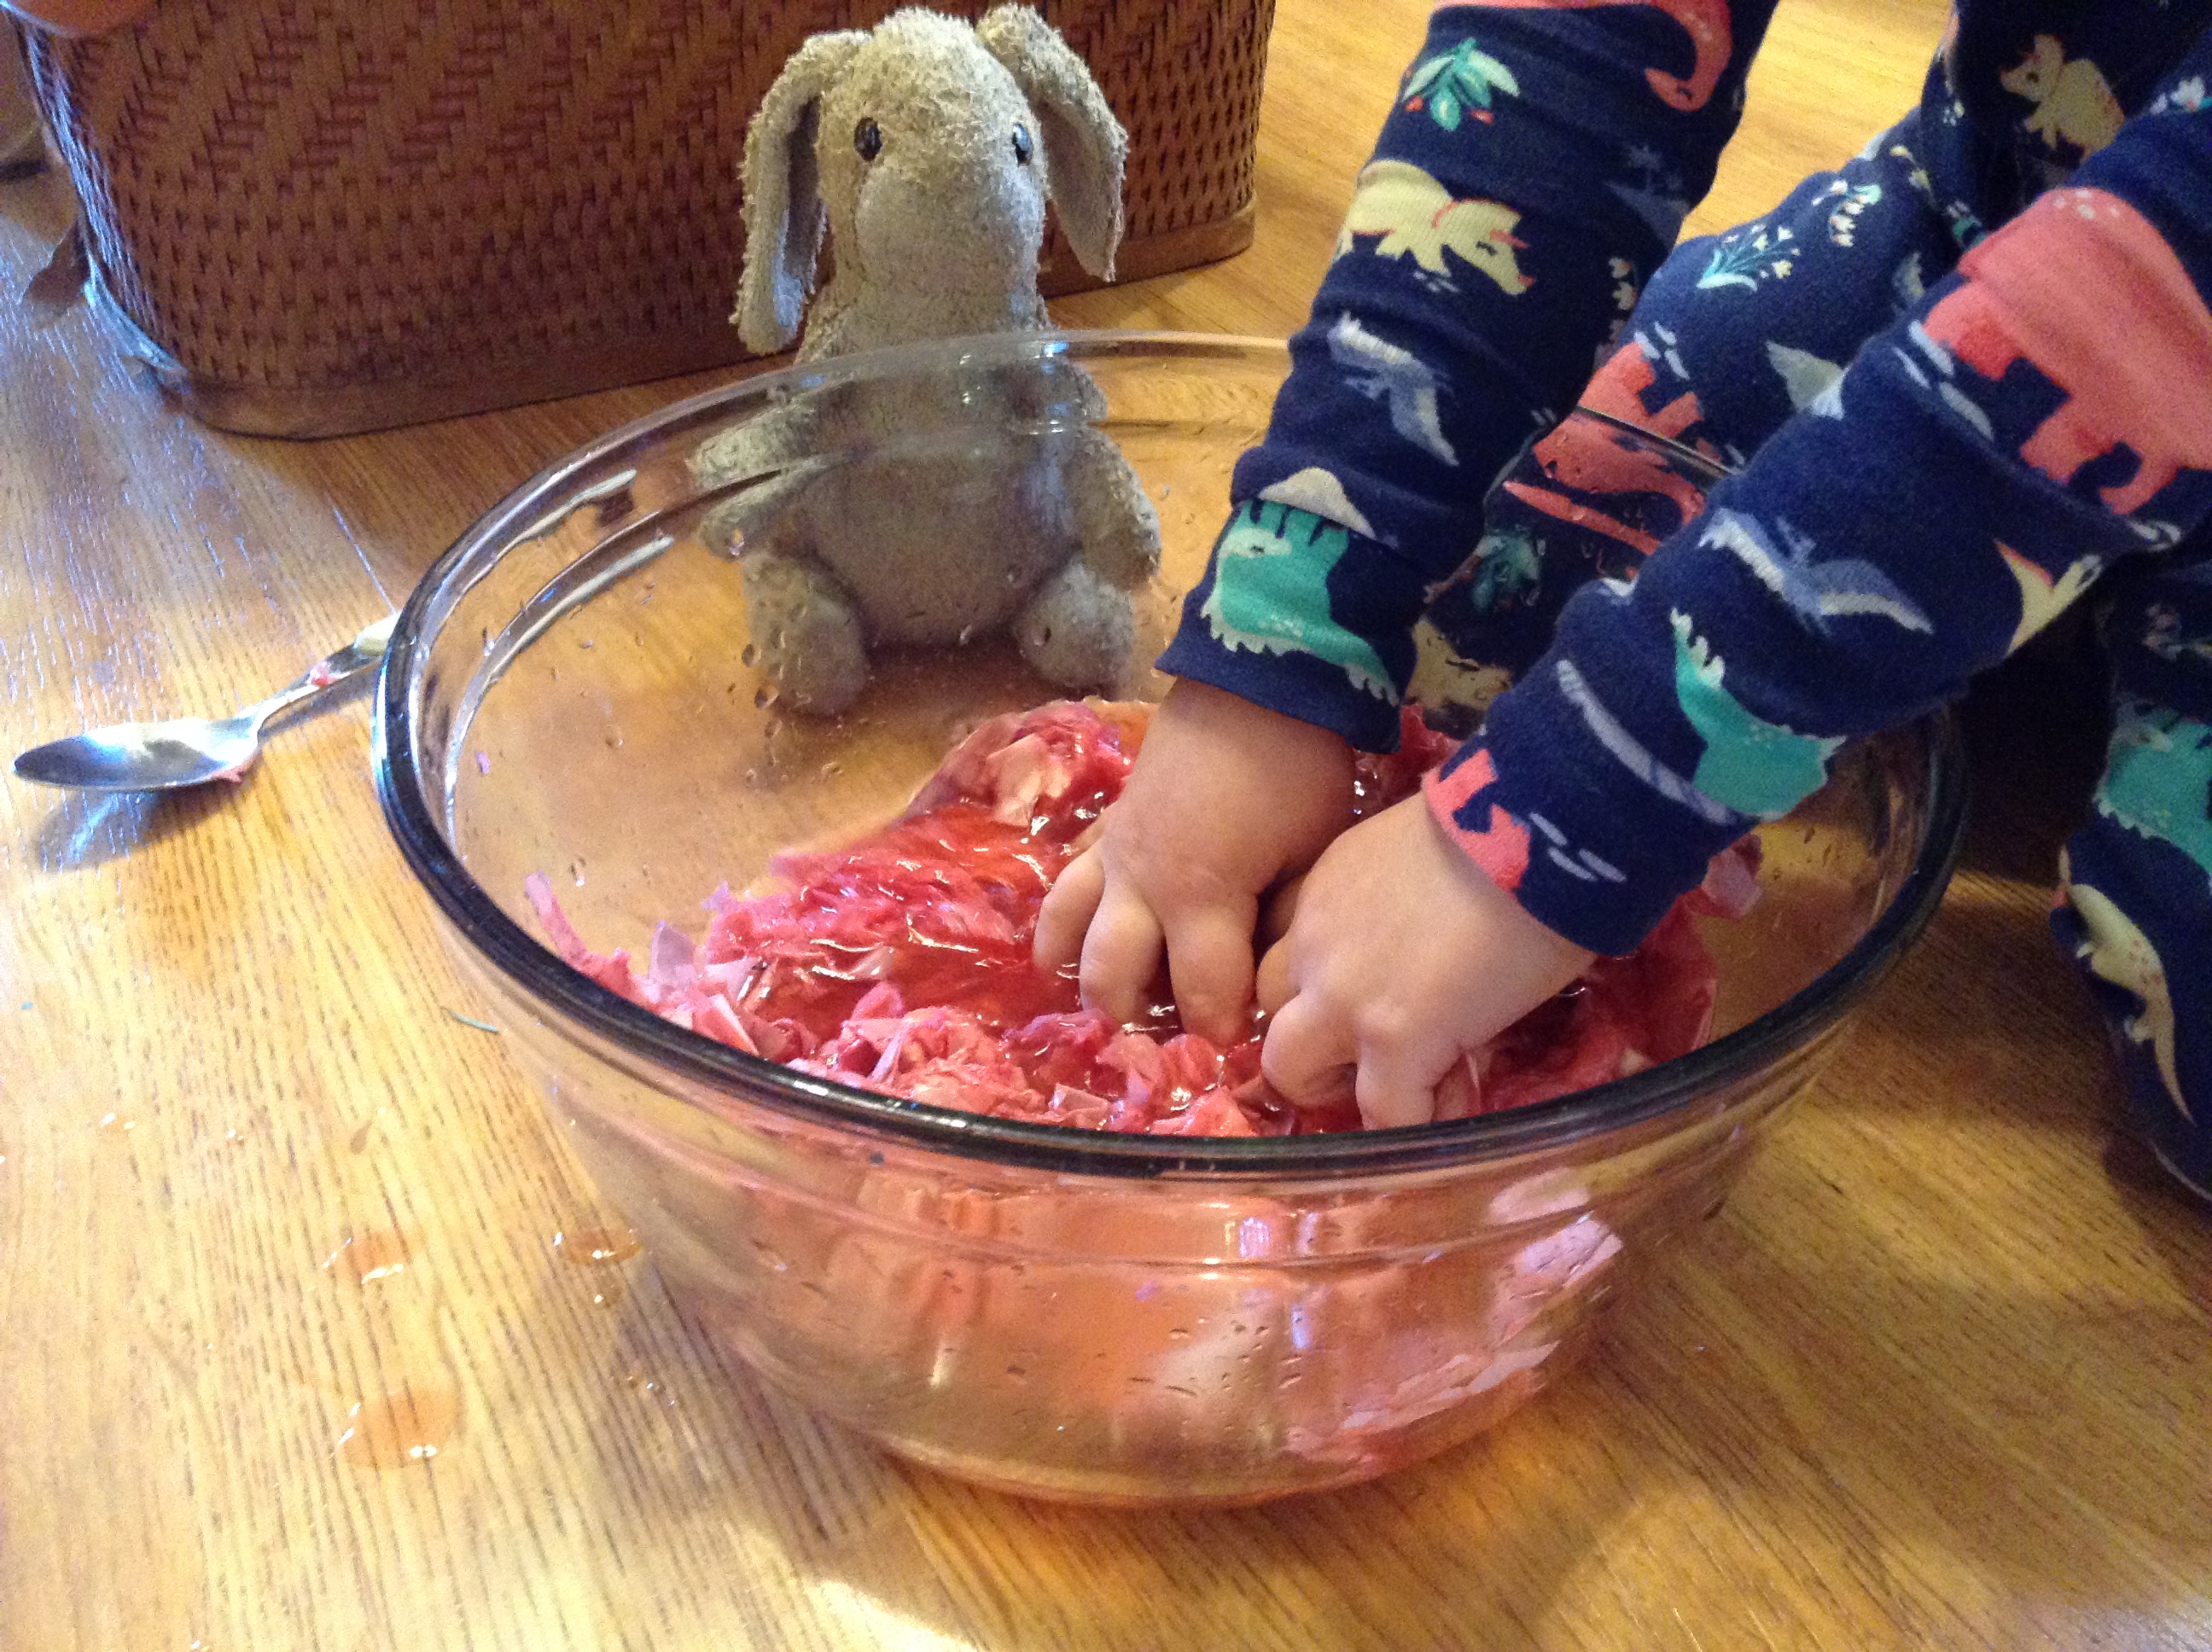
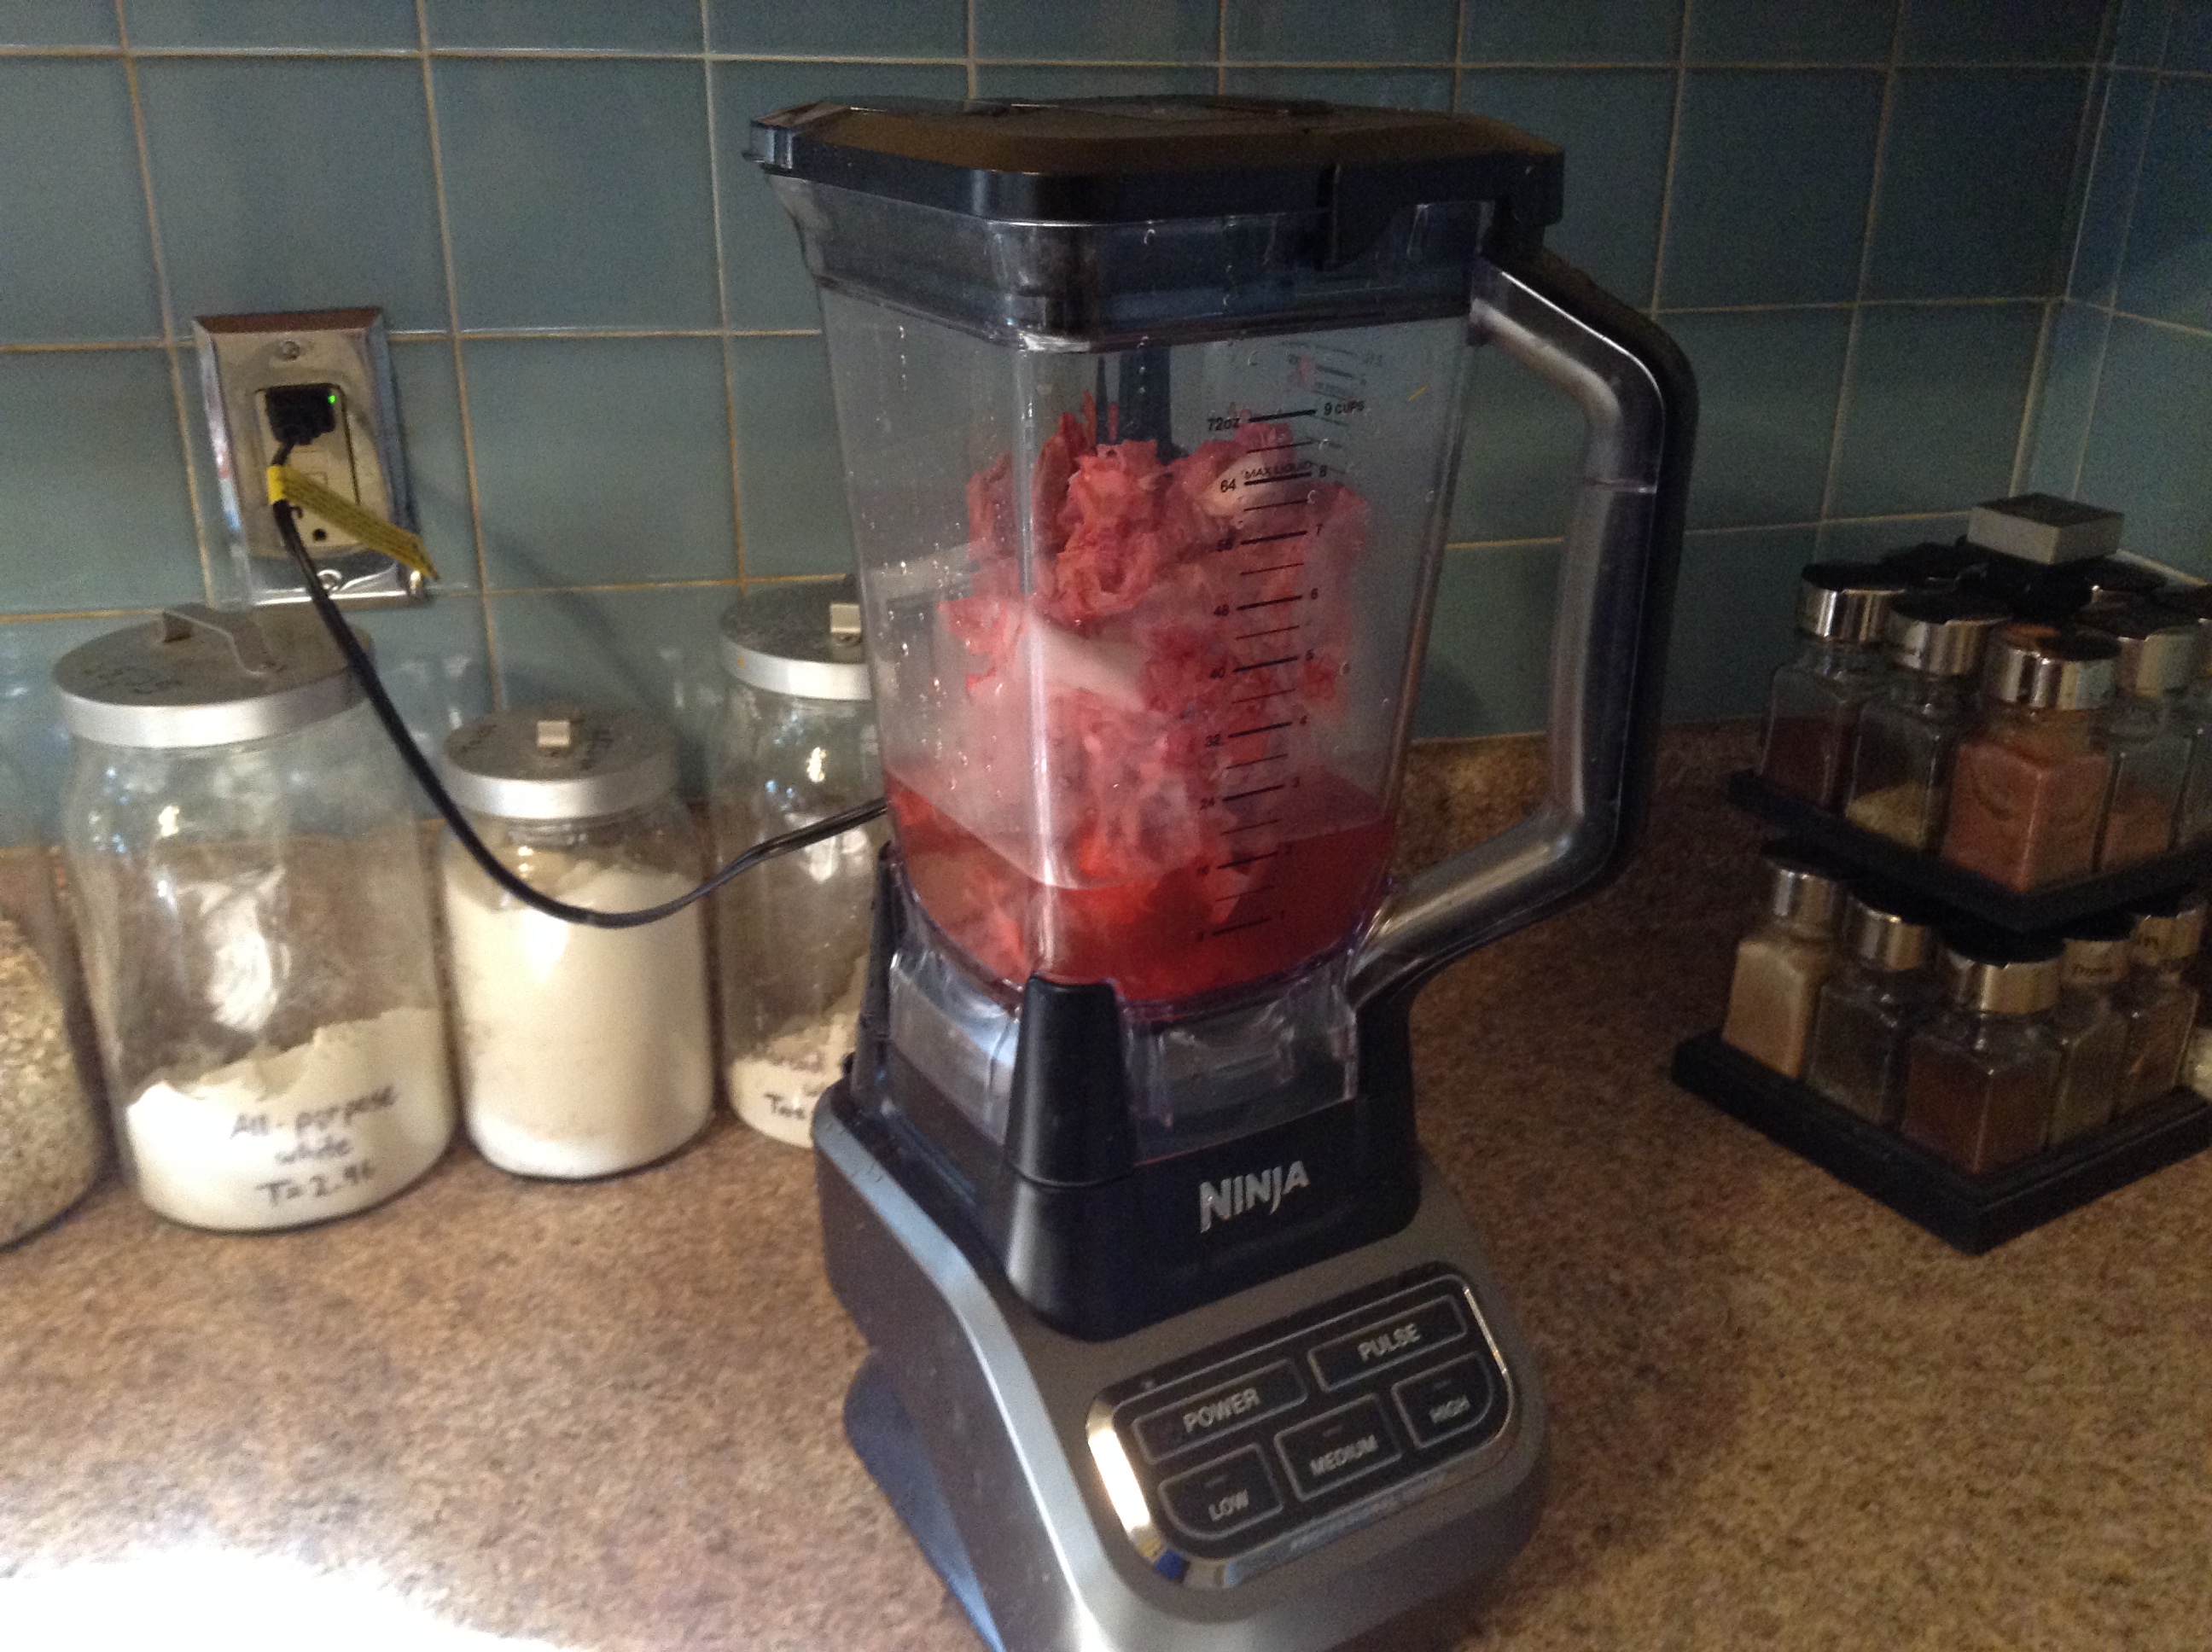
3. Put the soaked paper and water into the blender and blend on high until it is a pulp. Be sure to use a lot of water to make it easy for your blender. This is where you will really see what color your hearts will be.
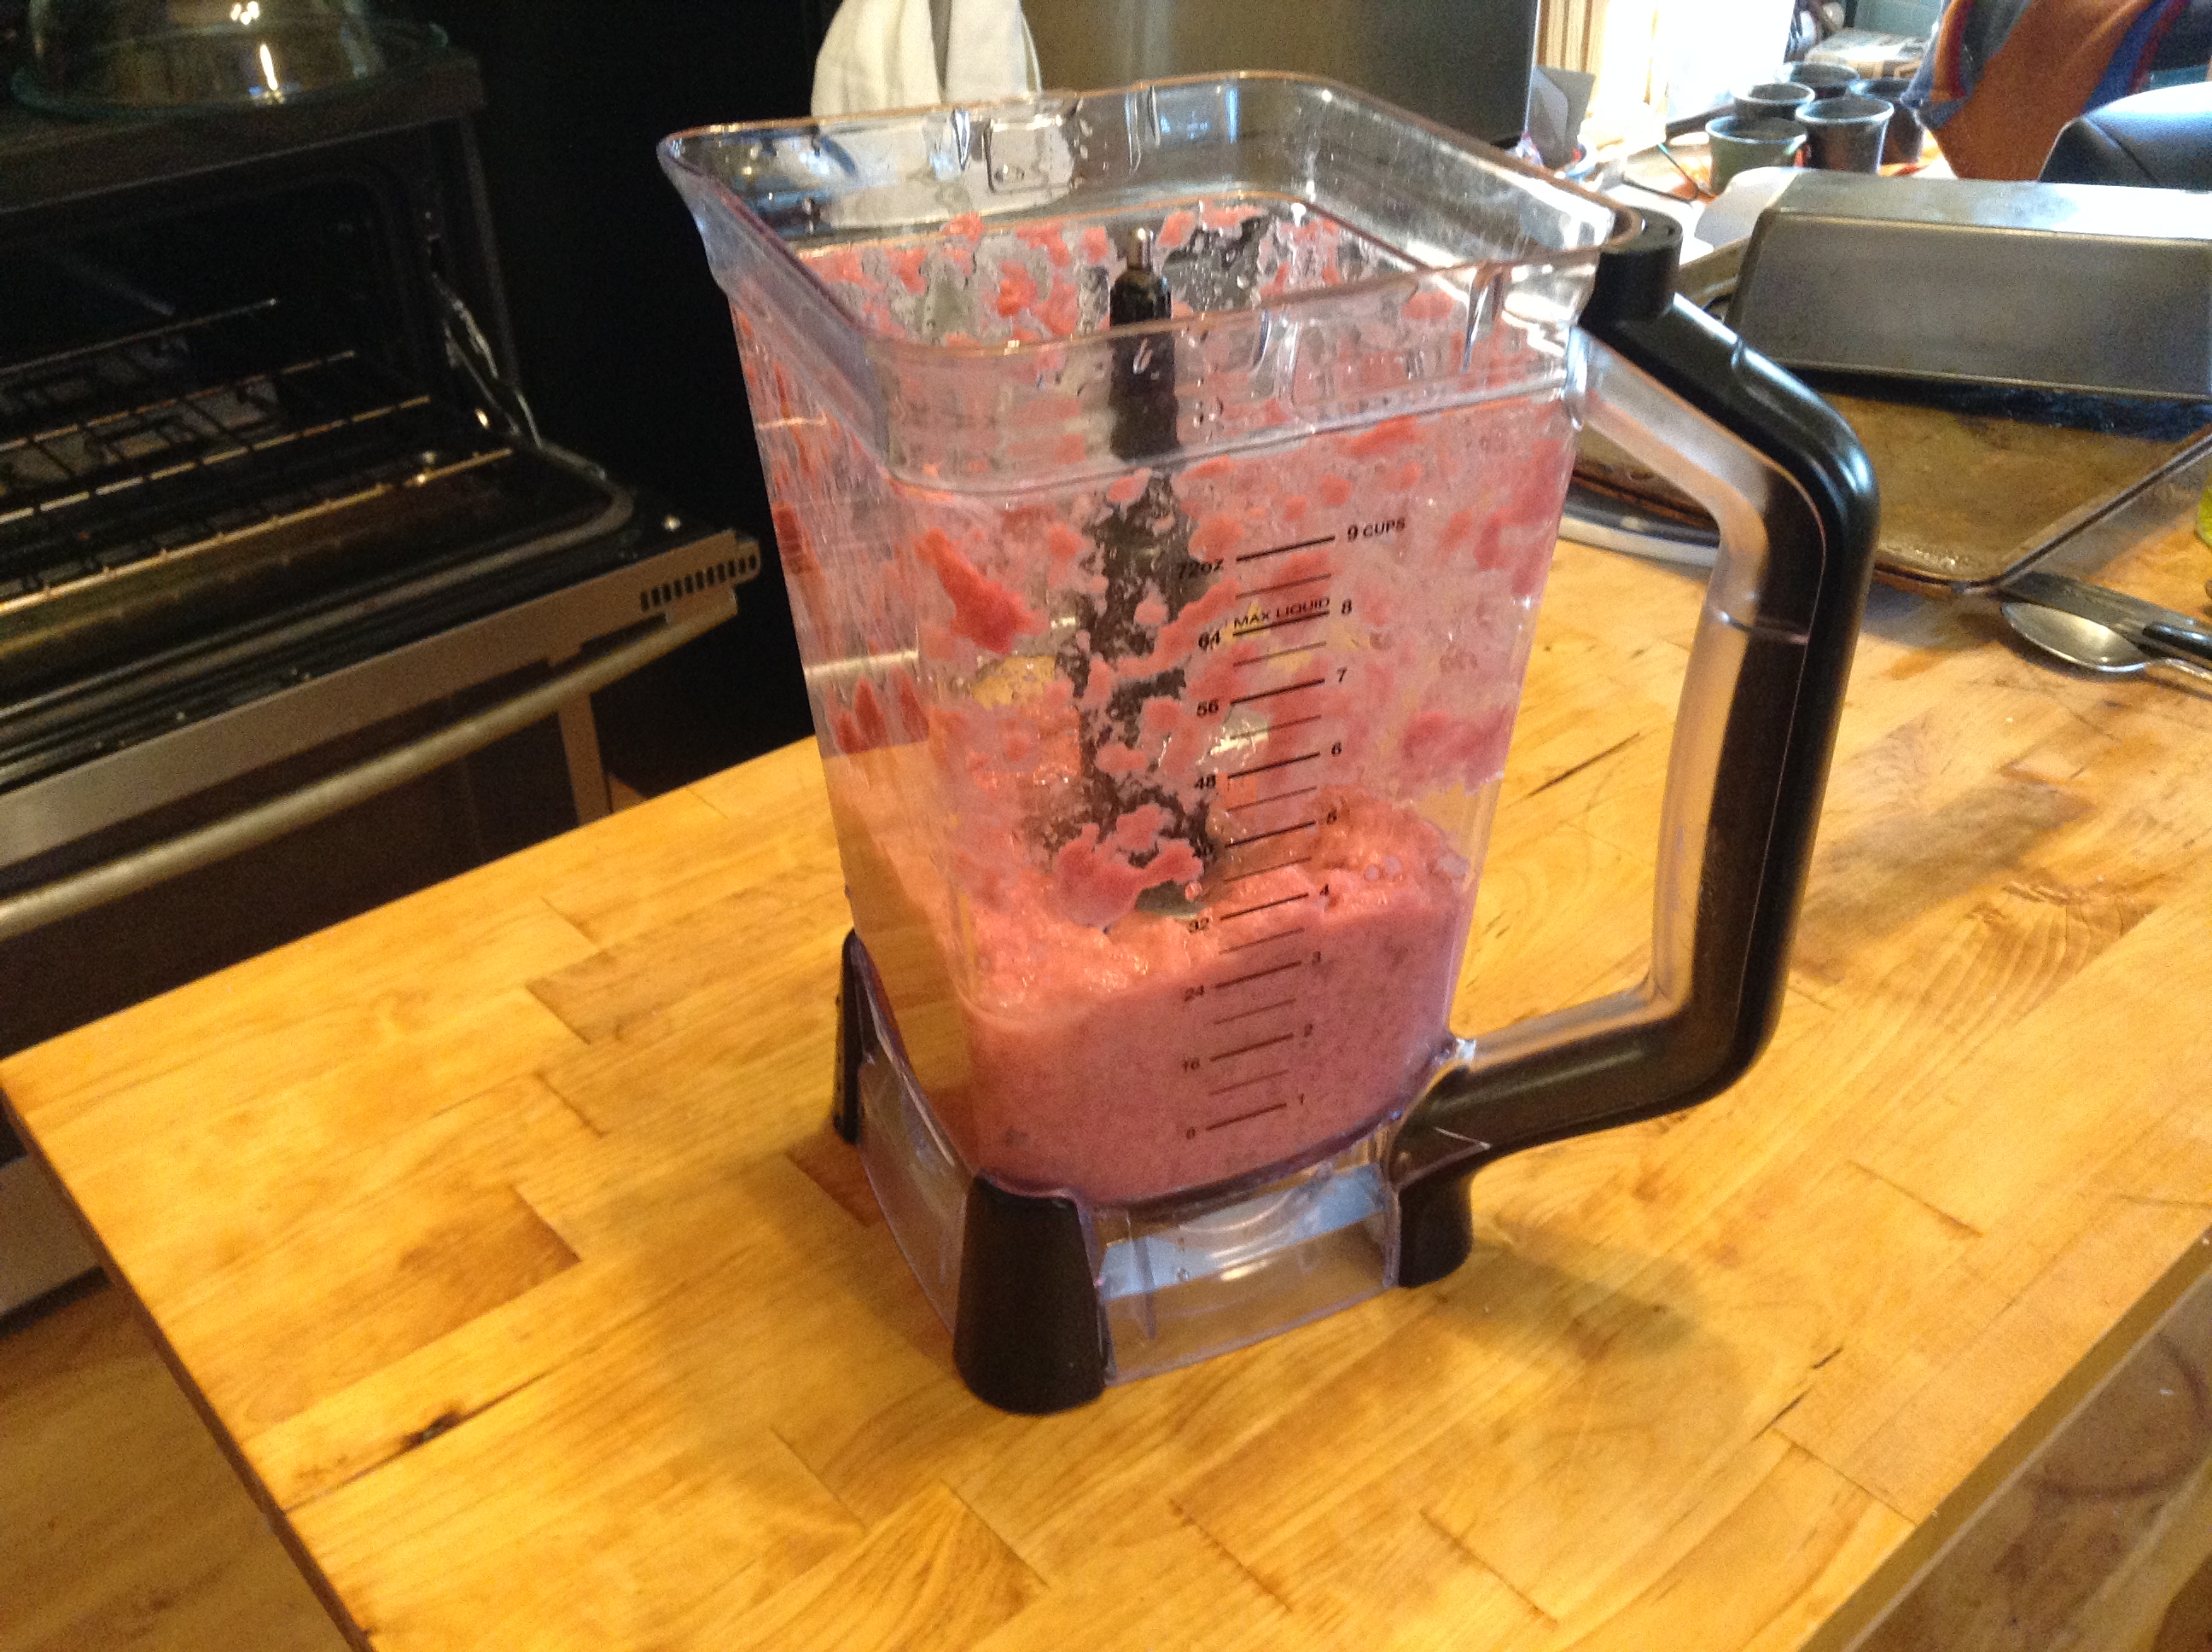
Now you have a big bowl of paper pulp that is quite wet.

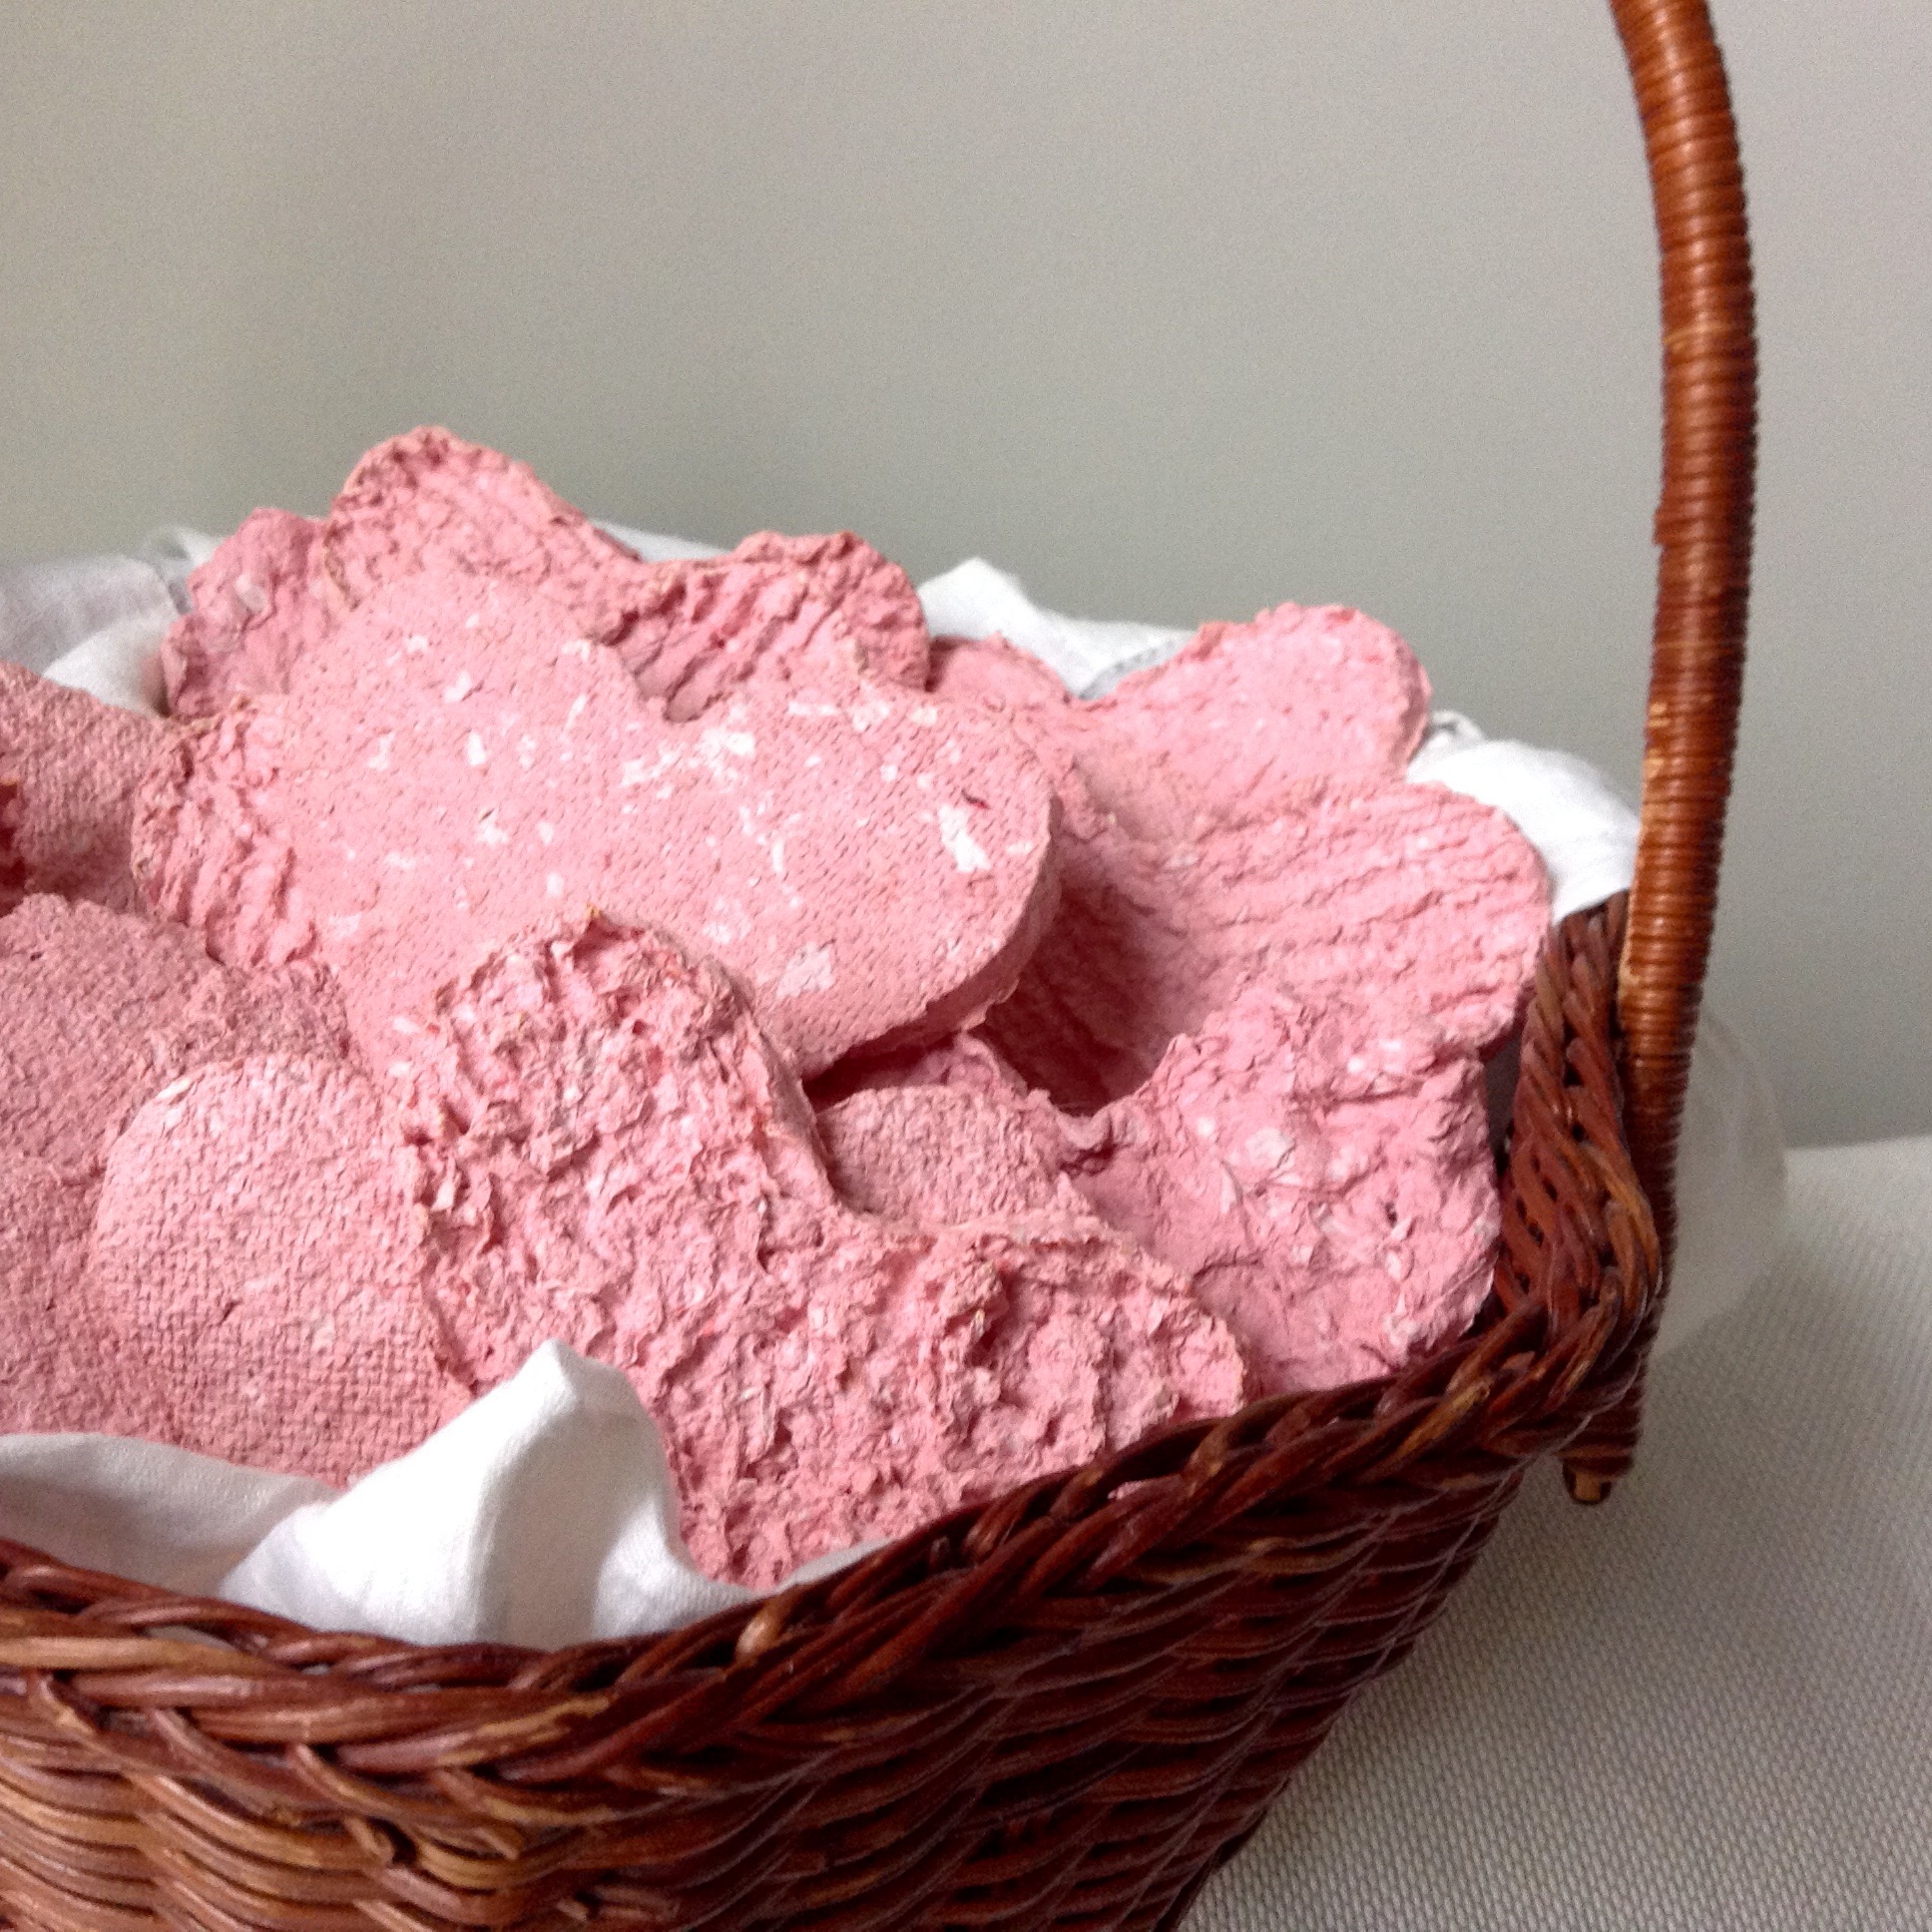
4. Pick up the pulp one handful/spoonful at a time and squeeze out a little of the water. Shape the pulp into heart shapes, about 1/4 inch thick. Use a spoon to smooth out the pulp. We had a heart shaped cookie cutter to use as a guide, but you could also draw hearts on a paper and have your kids put the pulp inside the lines. As a side note, you could also do different shapes to make birthday or Christmas cards!

We used a large envelope underneath our first batch, which worked fine. For the second batch, I took the screen off of a window and used that so they would dry faster. Both ways worked, the screen just dried faster.

5. When they are all shaped, allow to dry COMPLETELY! They will be fragile and break easily until they are dry, after which they are really solid. Drying can take 4-5 days, or even a week if it is humid. You could dry them on a cookie sheet in a warm oven (200 degrees) for a few hours. 2020 Update: I try to make these a week or two before we need them, but if time runs short, don’t feel bad drying in the oven, even though this uses electricity. If you think about it, paper making companies use huge amounts of electricity making paper, even if it is with recycled content. In fact, making your own paper can help you appreciate the huge amount of water and electricity it takes to make paper, and will probably inspire your kids to reduce the amount of paper they generally use. For more information about the role of paper in a zero waste lifestyle, read my post on paper.
These Valentines are compostable after they are enjoyed for a while.
This was a great project to do together while the 1 year old napped 🙂
We had fun turning waste into something beautiful!
2020 Update: My kids are now 5 and 3 and this is still a fun family activity. I just have to embrace that my kitchen floor will get very wet during the creation process :)! Most of our family now gives us Christmas presents in reusable wrapping (Yay family!!!). So now we save the bright colored papers that get sent home from school. This also allows us to make hearts of different colors!


2021 Update: This year we tried something a little different and used the paper wrappers from our Who Gives A Crap toilet paper. Who Gives a Crap is a great company providing plastic-free toilet paper made out of recycled content instead of trees. The colors turned out great! I used one of the red “Emergency, order more TP!” wrapper along with the pink to make the color a little stronger.


2 thoughts on “Valentine Cards”